HARRY POTTER is still our favorite and its the highest grossing film series of all-time! People usually cannot forget what had happened in the book or the movie, especially spells! (Wingardium Leviosa!)
Now, I'm being honest here, not that I'm an anti-fan or whatever, but I'm not very very very very very crazy for Harry Potter. I consider myself as.. I-know-this-film-and-I-know-some-details-too person. For example, people's name (like Hagrid's, Malfoy's, Fred and George, etc), spells (LUMOS MAXIMA!), pets (Hedwig), Hogwarts (Gryffindor vs Slytherin!), and so on.
However, being a not-so-crazy-for-Harry-Potter fan doesn't mean I'm not crazy for the magical things like wands! :D I love wands. In fact, I searched all over the internet to know how to make wands. Most of them made wands out of paper and hot glue but I thought I might be too plain. And so, I add a little creativity in it and made this.
-Glowing Stick (I bought them from Daiso, but it's actually quite pricey for 4 glowing sticks :/ )
-Acrylic Paint ( You can get them from Daiso. It's enough for a lot of DIY stuff :) )
-Stick (preferably wooden stick. But you can recycle your pens that are already running out of ink)
*Glue Gun tip is the hottest part of the tool. BE VERY CAREFUL
* You are highly recommended to use newspaper or any unwanted thing to be the base of your workplace. Smooth surface is better than rough ones. Example: manila card, plastic sheet, etc
The things you need are :Glue Sticks
Hot Glue Gun (any stationary shop has it)
Paper
Stick
OR
Ran-out-of-ink Pens (yea I've got plenty)
MahJong paper, Newspaper, whatever you got ;)
Acrylic paints from Daiso
Paint Brush
Firstly, place your "base" paper
Then Switch the electrical switch on so that the glue can melt while you wait
The reason why you need the paper is that the glue may be leaking while heating :/
Place your stick with the 'perfect' angle. (It does affect the size and shape so roll it before you glue it)
Glue the side of the stick so that it will stay in place
Roll the paper over and run your fingernail across the side of the stick, on the paper.
Glue it while rolling it, it'll make things easier :)
When you're done rolling, press it gently with the glued section down. The 'freshly' melted glue burns your fingers badly if you touch them.
You might get something like this but NO WORRIES.
THIS is handmade 'mah'
Now, think of the colour you wanted to paint on your wand
I like mine Gray-ish gold :)
Paint the first half of your wand, including the 'hole'
After the first half dried, paint the remaining
Wait till it dries and then paint a second coat. You need the second coat because usually, the first coat won't cover the whole thing.
Be careful with the gun (especially the TIP!!). Slowly, from inside out, fill the 'hole' with the melted glue
It should be like this. You can manipulate it too :)
This is what will happen if you aren't patient enough to wait for it to dry. UGH.
Slowly fill the another 'hole' too.
I didn't fill it until it's full. I let it be this way and pinched the outline for a better shape ( the one that I wanted)
There is a different type of glues out there. By different, I meant QUALITY. But then again, some of them are good for some colours or designs :)
Carefully, follow the lines and glue them. You wanna cover them nice and perfect.
Draw and design how you want your wand to be. There might be some 'glue floss' but its okay, you can just pull them out without destroying the piece. Well, it's actually depending on your strength.
My wand is now complete, and yours should be too :D
Its a little weird, I know, but what's 'crafted' on it can be some sort of language *chuckles* Imaginations hah
OH! OH! You can also cover your glue-patterns with paints if you don't like the colour :)
I like it just like that.
Advanced Wand Making Methodwith glowing sticks
Now, you need to know about these plugs that can be found in the package you bought. (Glow Sticks)
The one on top (A) is better than the one below (B) because:
1. A has something to stop in the middle and B does not. Which may cause the glow stick being glued while you're glueing the 'hole'
2. A is from Daiso and B is from some night market sellers. Which also means that A is the good quality one with the perfect size for the glow stick to be 'plugged in', while B is not.
You need these because you'll have to change the sticks when they don't glow anymore.
So yea, I'll be using the glow stick from Daiso
For this one, DO NOT GLUE THE SIDES OF THE GLOWING STICK. You need to change it when the stick doesn't glow any more.
While you roll, when the paper meets the plug, glue the sides of the plug to let it stay that way.
Like the basic one, glue it once in a while so that it will stay that way.
You may encounter a problem like this, which is that the paper will over the top of the stick if you keep rolling. Be noted that you need to have at least 0.5cm of the stick sticking out of the hole. So that you can change the stick.
Now, all you have to do is to fold the rest of the paper to the side of the stick
TADAAAAAH and you're done rolling the paper
( rolling in the deeeeeeeeeeeeeep)
Now, take the stick out 'cause we're gonna glue the bottom then paint the body XD
You'll have to do this because you need the plug to stay EXACTLY where it is :)
If you don't like how the bottom part shapes like, you can always cut it :)
After that, start painting it with the first coat, then second.
You are advised to glue the side of the tip of the wand so that it won't break when you're inserting the glowing stick
TADAAAAAAAH you're done! :D
How do you think about my second glowing wand? :)
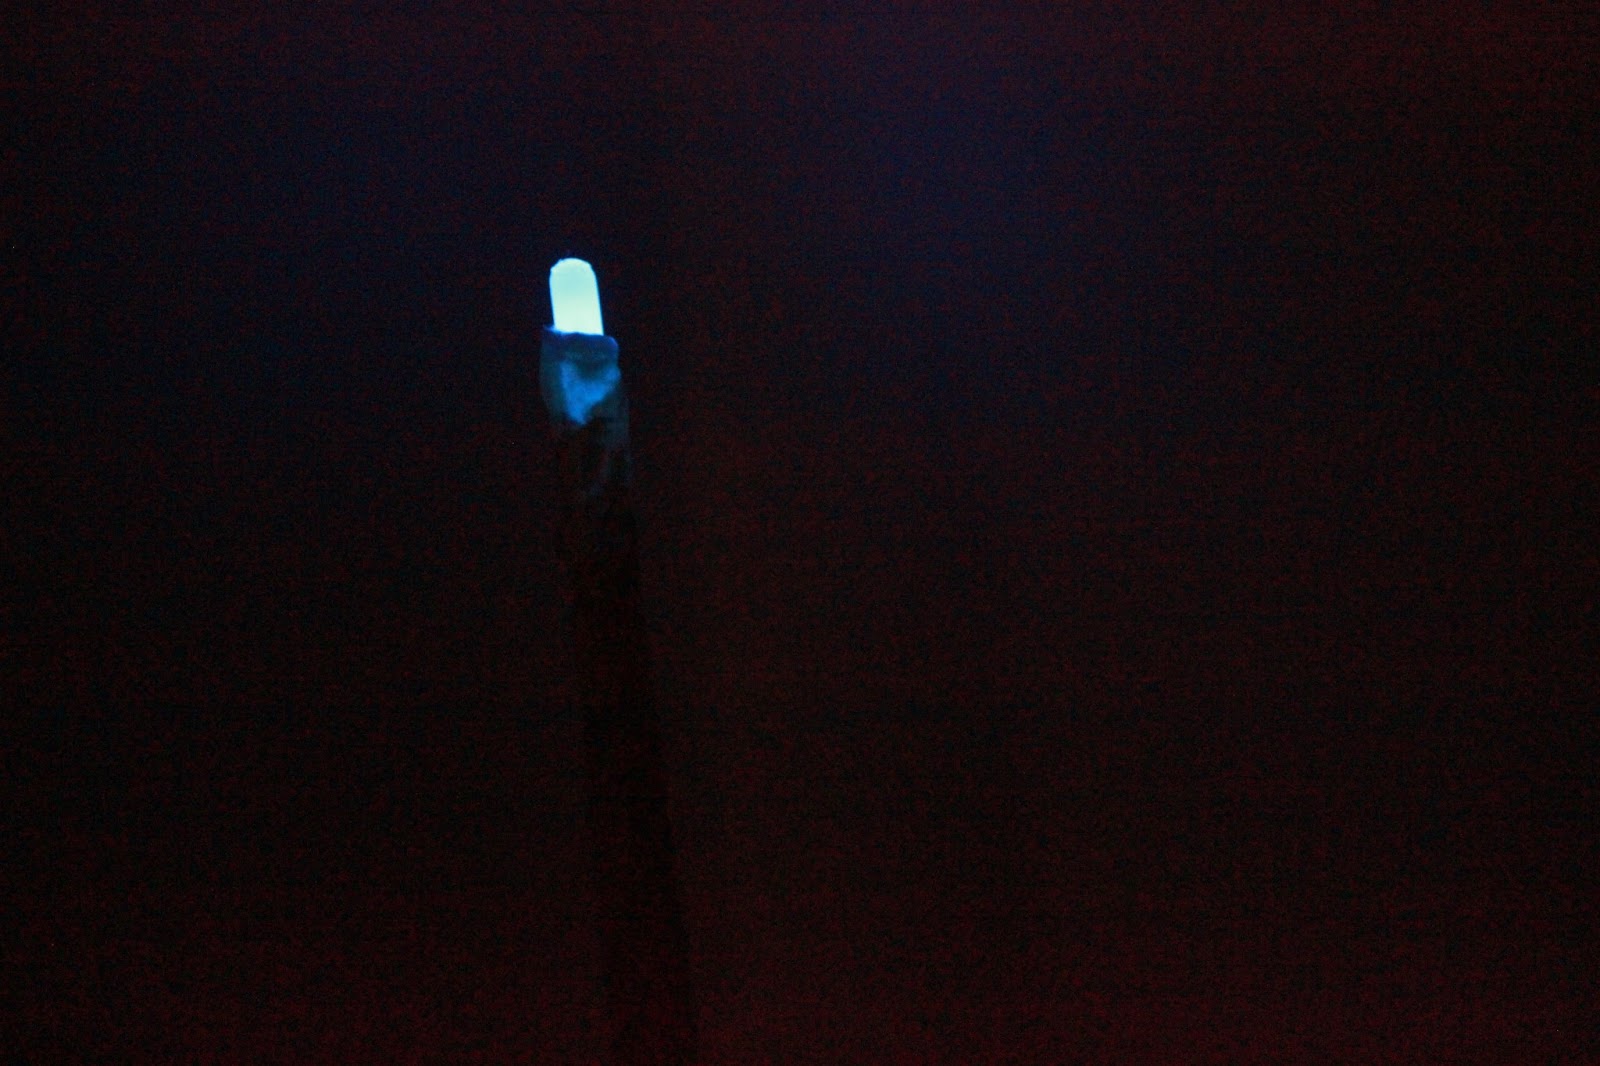
You can now take the stick out (if you tried to put it in) and give it a good CRACK! :D
Then put the stick back and enjoy watching it glow awesomely! :D
(see the middle part of it glowing? OwO )
And here's me modelling it HAH! XD
And here's my doggy being possessed by me! :D
A few days later, I made another one with much more thin paper
This one is a little bit too thick. So It doesn't glow like what I wanted.
But because the plug is inside, I need to cut the paper and take it out, which 'cause this.
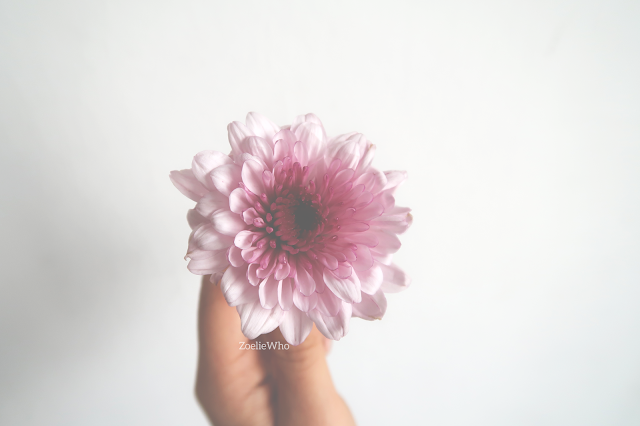
I love this one very much 'cause it looked so lovely and cotton candy :3
I made a thinner one by rolling only one part of the paper and tear the rest of it out.
Another cotton candy :3
This is how it looks like. The size is perfect for little kids, you know when you invite children to come over your house for your child's party, wizard theme ;)
Hope you enjoy your DIY session.
Start showing your friends about this post so that you guys can AVADA KEDAVRA .. or something less dangerous hehe
Also, you can show your wands to your friends to let them know your DIY skill! :D


 and I mentioned this cute product. I tried them on 6th of June and the peeling is s...)